Okay, so picture this: you’ve just walked across the stage, diploma in hand, surrounded by cheers, selfies, and that sense of accomplishment only a graduation day can give you. Now, you’re about to celebrate with family and friends, and there’s one thing on everyone’s mind—the cake. And not just any cake, but a stunning, delicious graduation cakes that’ll leave everyone talking for weeks.

If you want to impress your guests with something that not only looks like a million bucks but also tastes absolutely divine, keep reading. I’m about to share my go-to graduation cake recipe, with a few extra tricks and tips to make it the ultimate showstopper. Trust me, this cake will have everyone asking for seconds (and maybe even the recipe).
Ingredients You’ll Need
Before we get into the fun part—decorating and baking—let’s talk about the ingredients you’ll need. Don’t worry, it’s all pretty standard, but we’ll add a few things to make this cake extra special!

For the Cake:
- 2 1/2 cups all-purpose flour – This is the base of your cake, giving it that lovely, tender crumb.
- 2 1/2 tsp baking powder – The magic that makes this cake rise perfectly.
- 1/2 tsp salt – A pinch of salt brings out all the flavors in the cake.
- 1 1/2 cups unsalted butter (room temperature) – Butter makes the cake moist and rich. Trust me, don’t skip this.
- 2 cups granulated sugar – Sweetness, sweetness, sweetness!
- 4 large eggs (room temperature) – Eggs help with structure and add that beautiful yellow color.
- 1 tsp vanilla extract – A must-have flavor that’ll make the cake smell incredible as it bakes.
- 1 cup whole milk (room temperature) – This keeps the cake moist and adds richness.
For the Frosting:
- 2 cups unsalted butter (room temperature) – Yes, more butter, because frosting without butter is just sad.
- 5 cups powdered sugar – For that smooth, sweet frosting we all crave.
- 1 tbsp vanilla extract – It’s the key flavor that makes the frosting taste just right.
- 1-2 tbsp whole milk – This helps achieve that silky, spreadable consistency.
- A pinch of salt – To balance out the sweetness.
Decorations:
- Black fondant (or any color of your choice) – Graduation calls for caps, and fondant’s the best way to craft them!
- Gold edible glitter – Because what’s a graduation without a little sparkle, right?
- Graduation-themed sprinkles – Think caps, diplomas, stars, or whatever speaks to your class of 2024 vibe.
- Colored icing (optional) – For any special messages or personal touches.
Got everything? Awesome. Now let’s get started.
Step 1: Baking the graduation cakes
Honestly, this part is the easiest and the most satisfying. The smell of freshly baked cake wafting through your kitchen? Nothing beats it.
- Preheat your oven to 350°F (175°C). Grease and line two 9-inch round cake pans with parchment paper. You can also use non-stick spray if you’re short on parchment paper (but I highly recommend parchment for easy removal).
- Mix dry ingredients: In a medium bowl, whisk together the flour, baking powder, and salt. This will help distribute the baking powder evenly and ensure your cake rises beautifully.
- Cream the butter and sugar: In a large mixing bowl, use an electric mixer (or stand mixer if you’re feeling fancy) to cream the butter and sugar together until light and fluffy. This should take about 3-4 minutes on medium speed. If you’ve never done this before, you’ll know it’s ready when the mixture looks pale and smooth.
- Add the vanilla: Pour in the vanilla extract and mix until just combined. Your kitchen should be smelling like a bakery right about now.
- Alternate adding dry ingredients and milk: With the mixer on low speed, add half of the dry ingredients, followed by half of the milk. Once incorporated, add the rest of the dry ingredients, followed by the remaining milk. Mix until smooth, but don’t over-mix—overworking the batter will make the cake tough, and nobody wants that.
- Divide the batter evenly between the two pans and smooth the tops with a spatula.
- Bake for about 25-30 minutes, or until a toothpick inserted into the center comes out clean. Every oven is different, so keep an eye on it!
- Cool the cakes: Let the cakes sit in the pans for about 10 minutes before transferring them to wire racks to cool completely. You can even freeze them for 15 minutes if you’re in a hurry to start decorating.
Step 2: Making the Frosting
This frosting is what’s going to take your graduation cake from “meh” to “wow.” It’s creamy, dreamy, and just the right amount of sweetness.
- Cream the butter: Using an electric mixer, beat the butter on medium speed for about 3-4 minutes until it’s light and fluffy. Be patient here—it’ll make the frosting smooth and spreadable.
- Add powdered sugar: Gradually add the powdered sugar, one cup at a time. Mix on low to avoid a sugar cloud. Once the sugar is fully incorporated, crank up the speed to medium-high and beat for about 5 minutes.
- Add vanilla and milk: Mix in the vanilla extract and 1 tablespoon of milk at a time. Continue beating for another minute until the frosting is light, airy, and creamy. If you want it thicker, add a little more powdered sugar. For a thinner consistency, add more milk.
- Taste test: Go ahead, give it a little taste. Too sweet? Add a pinch of salt to balance it out. Perfect? You’re golden.
Step 3: Assembling the graduation cakes
Alright, now that your cake and frosting are ready, it’s time for the fun part: putting it all together.
- Level the cakes: Once your cakes are completely cool, take a serrated knife and level the tops. This makes sure your cake stacks neatly and doesn’t tilt like the Leaning Tower of Pisa. If you’re feeling fancy, you can even trim the edges for a clean, professional look.
- First layer of frosting: Place one cake layer on your cake stand or plate. Spread a generous layer of frosting on top, smoothing it out with a spatula.
- Add the second layer: Place the second cake layer on top, pressing it down gently. You want everything to stick and stay in place.
- Crumb coat: Apply a thin layer of frosting all over the cake to seal in any crumbs. This is your “crumb coat,” and it doesn’t need to be perfect. Pop the cake in the fridge for 15-20 minutes to let the frosting set.
- Final coat of frosting: After the crumb coat has set, spread a thick layer of frosting all over the cake. Make it as smooth or as textured as you like—smooth frosting gives a clean look, while a more textured finish adds a homemade touch.
Step 4: Decorating Your graduation cakes
Here’s where you can get really creative! A graduation cake isn’t just about taste—it’s about the wow factor. And there’s so much you can do here!
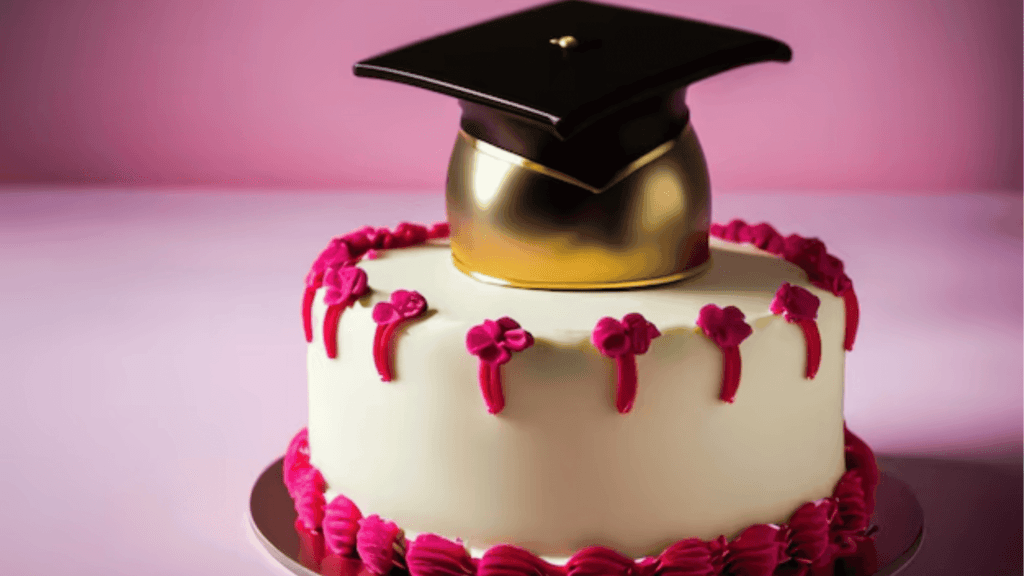
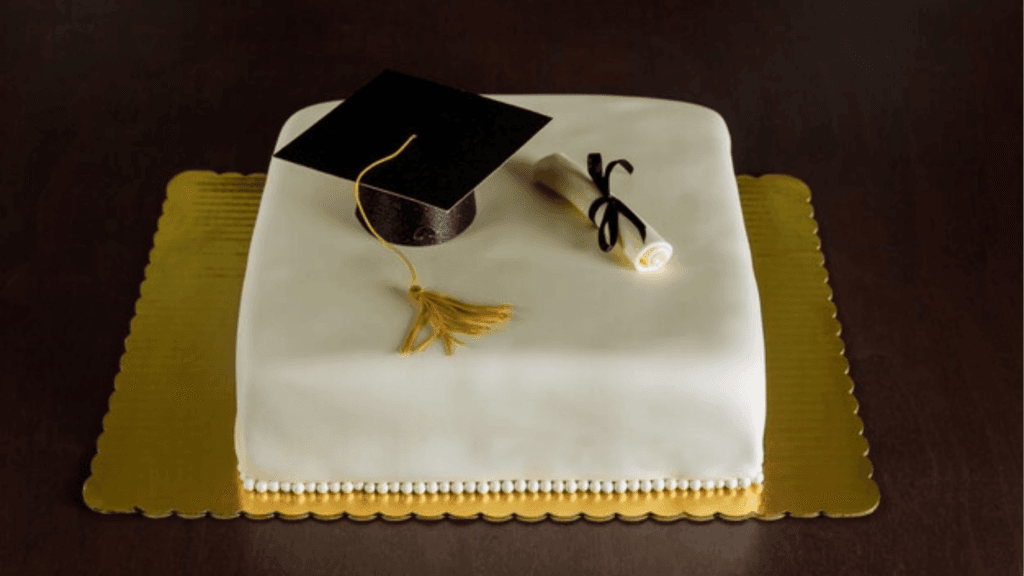
- Fondant graduation cap: Roll out black fondant and cut out a square for the base of the cap. For the top, make a small circle. Attach the two pieces together with a bit of water or edible glue. Add a small strip of fondant as the tassel’s string, and for the tassel, you can use a bit of gold fondant or edible glitter for that extra sparkle.
- Graduation-themed decorations: Place your fondant cap on top of the cake, and scatter graduation-themed sprinkles around the sides of the cake. Think diplomas, stars, or numbers like “2024.” It’s your big day, so let those decorations shine!
- Gold glitter: Lightly dust the cake with edible gold glitter for that extra glam factor. A little goes a long way!

Step 5: Enjoy the Cake!
You did it! Your graduation cake is ready to wow your friends and family. Whether you serve it at a party or just have a private moment of victory with your loved ones, you’ll feel proud every time someone takes a bite. You earned it!
FAQs
Does Costco Do Graduation Cakes?
Yes, Costco does offer graduation cakes! They have a variety of customizable cakes that can be personalized with graduation-themed designs. You can order a cake with “Congratulations” or a specific message to suit the graduate’s name and year. These cakes typically come in large sizes, making them great for big graduation parties. Costco is known for offering affordable yet delicious cakes, and their graduation cakes are no exception. You can choose from their famous sheet cakes, layered cakes, or even their decadent chocolate cakes, all of which can be decorated with graduation-related themes like caps, diplomas, or school colors.
Do You Serve Cake at a Graduation Party?
Yes, cake is a classic and beloved dessert at any graduation party! It’s a celebratory food, symbolizing sweetness and achievement, and it’s a perfect way to mark such an important milestone. Whether you go for a simple sheet cake or a more elaborate, decorated tiered cake, serving cake at a graduation party is a must. Guests love to gather around and enjoy a slice while celebrating the graduate’s big day. Plus, it gives everyone a reason to grab their phones for a few Instagram-worthy photos!
What Cakes Are in Trend?
Some of the most popular cake trends for graduation parties right now include:
- Naked Cakes: These cakes have a rustic, minimalistic look, with just a light layer of frosting on the outside. They often feature fresh flowers or simple decorations, which make them look chic and modern.
- Drip Cakes: These cakes have icing or ganache dripping down the sides, giving them a trendy, artistic feel. They can be made in any color and with different toppings like candies, sprinkles, or chocolate.
- Fondant Cakes: Graduation cakes often feature fondant decorations like caps, tassels, or school logos. The smooth, sleek finish of fondant makes for a polished, professional look.
- Themed Cakes: Cakes decorated to reflect the graduate’s future plans or field of study—like a cake shaped like a graduation cap or one with edible books, pens, or diplomas—are trending.
- Cupcakes & Mini Cakes: If you want a more casual or easy-to-serve option, cupcakes or individual mini cakes are popular choices. These allow each guest to grab their own personal serving, and they’re often just as decorative as full-sized cakes.
- Flavored Cakes: While traditional vanilla and chocolate remain favorites, trendy flavors like lemon, red velvet, funfetti, or even salted caramel are becoming more popular for a unique twist.
What Can Be Written on a Graduation Cake?
When it comes to writing on a graduation cake, you’ve got a lot of options! The message can be simple, funny, or heartfelt, depending on the tone of the party. Here are some ideas:
- “Congrats [Graduate’s Name]” – Simple and to the point. Add the year or the degree for a more personal touch.
- “Class of [Year]” – A classic, timeless option to mark the graduation year.
- “The Tassel Was Worth the Hassle!” – A fun, lighthearted message celebrating the graduate’s hard work.
- “The Journey Begins Now” – Perfect for those heading to college or starting a new chapter in life.
- “So Proud of You!” – A sweet, heartfelt message that shows your pride in the graduate.
- “You Did It!” – Short, sweet, and celebratory.
- “Graduate in Style!” – A playful phrase that works well for a chic or trendy cake design.
- “Congrats on Your [Degree/School Name]” – Customize with the specific achievement, like “Congratulations on Your Bachelor’s Degree” or “Congrats, Medical School Grad!”
- “Ready for the Next Adventure!” – Perfect for a graduate about to take on the world

Pro Tips for a Quick, Stress-Free graduation cakes:
- Make-ahead: You can bake the cakes a day or two in advance. Just wrap them tightly in plastic wrap and store them at room temperature.
- Frozen frosting: If you’re short on time, make the frosting in advance and store it in the fridge. Let it come to room temperature before using it.
- Cupcakes for the win: If you’re short on time (or space), make cupcakes instead of a full cake. They’re just as festive and way easier to handle.
- Go store-bought for decorations: If you don’t have the time (or the patience) to make a fondant cap, you can buy pre-made decorations from the store. There are plenty of adorable graduation toppers and sprinkles available.


4 thoughts on “Graduation Cakes Showstopper for Your Big Day”
Comments are closed.