Let’s be honest, who doesn’t love a good cake? But when you combine cake with something as heartwarming as a heart-shaped design, well, you’ve got a real winner. Whether you’re making it for Valentine’s Day, an anniversary, or just because you want to treat yourself (which, let’s face it, is always a good reason), a heart cake is bound to impress. You don’t need to be a pro baker to pull off a showstopper of a cake, either. Trust me, I’ve got your back, and I’m here to help you create a cake that’s both beautiful and ridiculously delicious.

So, grab your apron, and let’s bake up something that’s sweet in both flavor and sentiment. Ready? Let’s dive in—no fancy techniques required.
What Makes a Heart Cake So Special?
First, let’s take a moment to talk about why heart-shaped cakes have such a magical appeal. A heart cake isn’t just any regular cake; it’s a cake with a message. Whether it’s love, affection, or just pure joy, a heart shape speaks volumes. It says, “I’m thinking of you,” “You’re special to me,” or even, “Hey, I baked this just because I love cake!” You know, simple but meaningful.
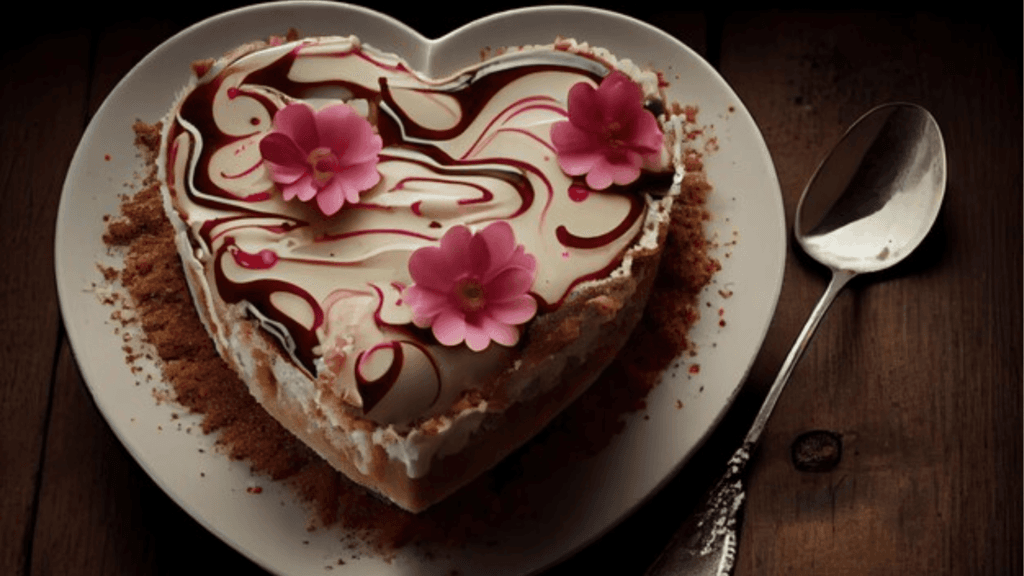
What’s even better? Heart cakes are super versatile. You can make them as intricate or as simple as you like. Whether you prefer a rich chocolate cake or a light and fluffy vanilla sponge, the heart shape makes it extra sweet. Plus, you can decorate it with all sorts of goodies—think buttercream flowers, sprinkles, or even some cute fondant hearts.
How to Make a Heart Cake It’s Easier Than You Think!
Now, I’m going to walk you through the basics of making a heart-shaped cake that’s going to knock everyone’s socks off. And no, you don’t need to spend hours in the kitchen. We’re keeping it fun and easy, so you can enjoy the process and (of course) the cake when it’s ready.
Ingredients You’ll Need

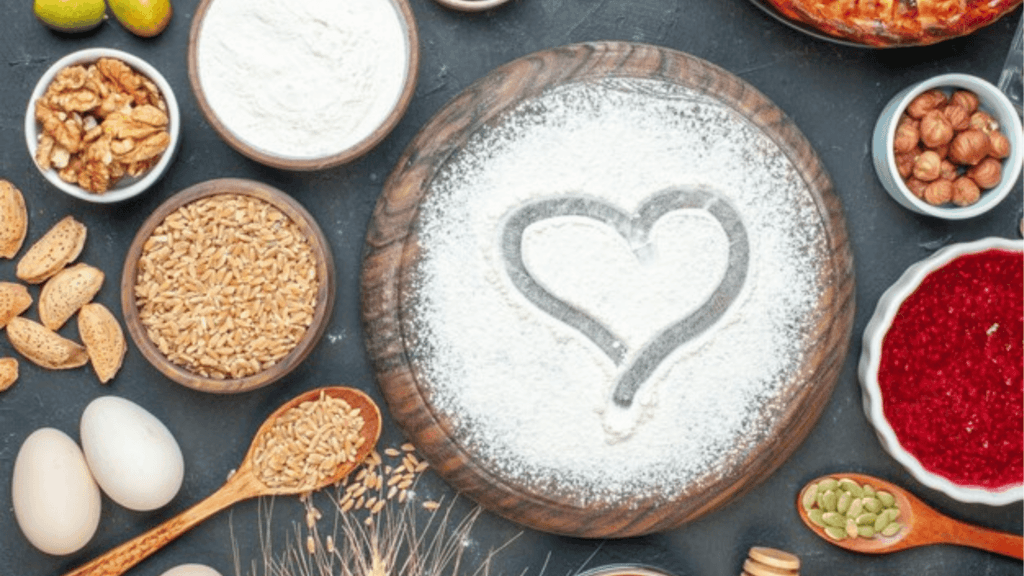
Here’s what you’ll need to make your heart-shaped cake:
For the Cake:
- 2 ½ cups all-purpose flour
- 2 ½ teaspoons baking powder
- 1 teaspoon baking soda
- 1 teaspoon salt
- 1 cup unsalted butter (room temperature)
- 2 cups sugar
- 4 large eggs (at room temperature)
- 1 tablespoon vanilla extract
- 1 cup whole milk (room temperature)
- 1 cup sour cream (room temperature)
the Frosting:
- 2 cups unsalted butter (room temperature)
- 4 cups powdered sugar
- 2 teaspoons vanilla extract
- 1-2 tablespoons heavy cream (for consistency)
- A pinch of salt
For Decoration (Optional):
- Sprinkles, edible glitter, or fondant decorations
- Fresh berries or edible flowers
- Piped buttercream roses or hearts
Step 1: Prepare the Heart-Shaped Pan
So, here’s the deal: You’ll need a heart-shaped cake pan for this. You can grab one from your local store or online, or if you don’t want to commit to buying one, you can always make your own. Simply use two round pans to bake a cake and trim them into a heart shape after. But trust me, a heart-shaped pan just makes everything easier!
Grease your pan with butter or non-stick spray and lightly dust it with flour, so your cake doesn’t stick. Nobody wants a broken heart (cake). Trust me, I’ve been there.
Step 2: Bake the Heart Cake
Preheat your oven to 350°F (175°C). While that’s heating up, it’s time to get the cake batter ready. Start by sifting together your flour, baking powder, baking soda, and salt in one bowl. This helps keep the cake light and airy. Then, cream your butter and sugar together in a separate bowl. You’ll want to mix it until it’s smooth and fluffy (think about 3-4 minutes on medium speed).
Next, add the eggs one at a time, making sure they’re fully incorporated before adding the next one. Throw in your vanilla extract, too—it’ll make everything smell so good.
Now, alternate adding the dry ingredients and wet ingredients (milk and sour cream). Start with the dry mix, followed by half the milk, then the rest of the dry mix, and finish off with the remaining milk. This method helps to keep your batter smooth and well-mixed.
Pour the batter into your heart-shaped pan, making sure it’s evenly spread out. Pop it in the oven and bake for about 30-35 minutes, or until a toothpick inserted into the center comes out clean. Allow it to cool entirely before applying the frosting
Step 3: Make the Buttercream Frosting
While your cake is cooling down, let’s make the buttercream frosting. This is where the magic happens. Trust me, homemade buttercream is so much better than store-bought, and it’s super easy to make.
In a large bowl, beat the butter on medium speed until it’s smooth and creamy. Slowly add in the powdered sugar, one cup at a time, and keep beating until it’s light and fluffy. Add in the vanilla extract and a pinch of salt for flavor, then adjust the consistency by adding a tablespoon or two of heavy cream if it feels too stiff. You want it to be smooth but thick enough to hold its shape.
Step 4: Assemble the Cake
Now comes the fun part! Once your cake is completely cooled, slice it in half horizontally if you want a layered look. Spread a thin layer of frosting on the bottom layer of the cake. Add any fillings you love—jam, chocolate ganache, or fresh fruit work wonders—and then top with the second cake layer.
Cover the entire cake with a smooth layer of buttercream. You can be fancy with this and pipe out fun patterns or just go for a classic smooth finish. If you’re feeling creative, decorate with sprinkles, fondant shapes, or even fresh flowers. You could make little piped hearts or swirl roses around the top for a romantic touch.
Step 5: Enjoy!
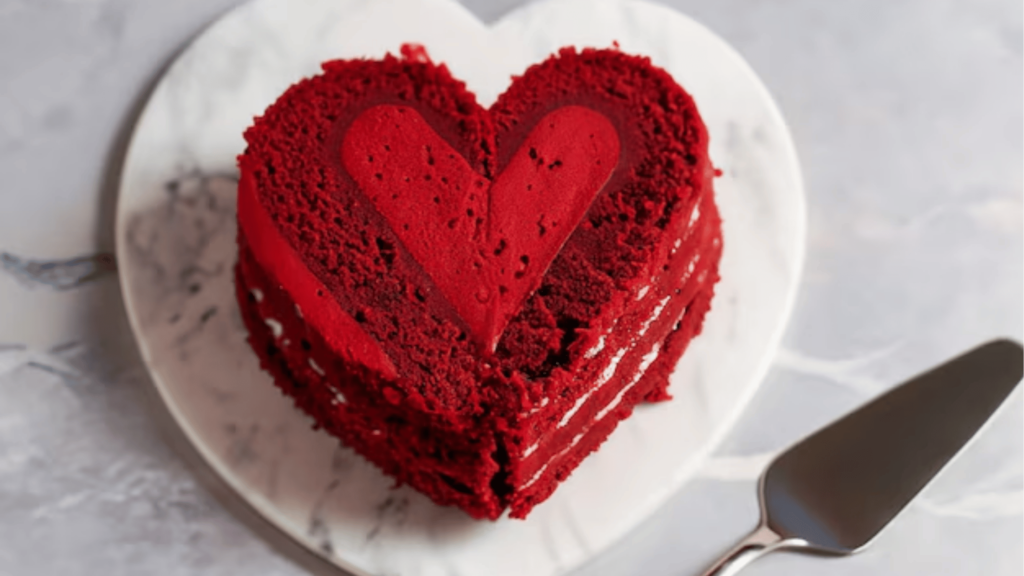
Now that your cake is all put together, it’s time to slice into it. Seriously, the joy of cutting into a heart-shaped cake never gets old. And the best part? It’s every bit as delicious as it is visually appealing. The soft, fluffy layers paired with that sweet, creamy frosting—heaven.

Tips for the Best Heart Cake Ever
- Use room temperature ingredients: This is a biggie! You don’t want to risk making a lumpy batter or stiff frosting, so make sure your butter, eggs, and milk are all at room temp before you get started.
- Don’t rush the cooling process: I get it, you’re excited, but frosting a hot cake is a recipe for disaster. Let your cake cool completely so the frosting doesn’t melt.
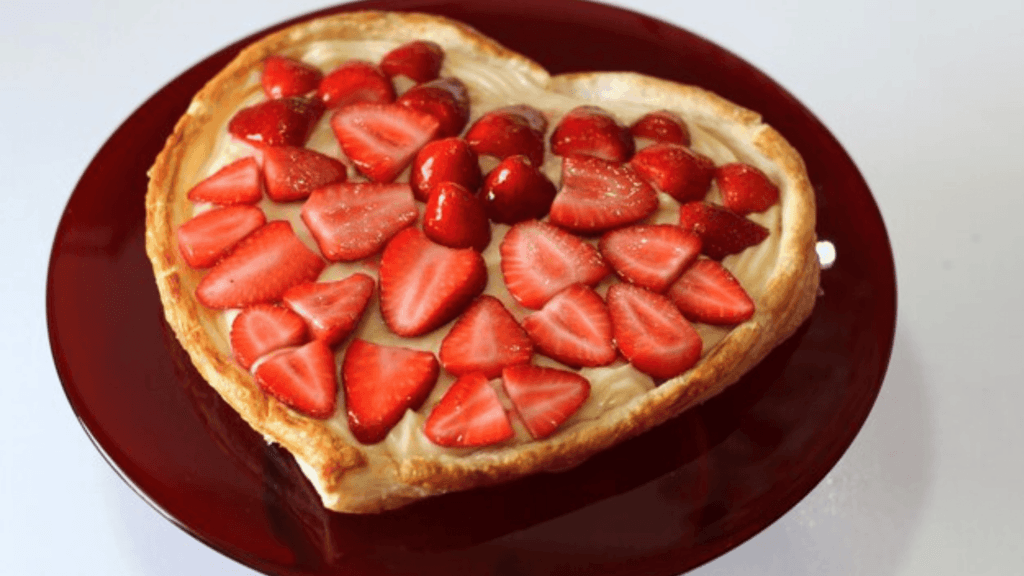
- Get creative with your decorations: You don’t have to stick with classic buttercream. Add a drizzle of chocolate ganache, or use fresh fruit for a natural touch.
- Make it ahead of time: The cake itself can be made a day or two ahead of time. Simply cover it securely with plastic wrap and keep it stored at room temperature. Apply the frosting on the same day you intend to serve it.
Why Heart Cakes Are Perfect for Any Occasion
Okay, so heart cakes are clearly perfect for Valentine’s Day (duh), but they’re so much more than just a holiday treat. Birthdays? Check. Anniversaries? Absolutely. Mother’s Day, a random Tuesday, or a just-because cake because you’re feeling the love—why not? A heart-shaped cake brings a sense of thoughtfulness that everyone can appreciate. It may be a small act, but it carries significant meaning.
It’s also great for those of us who like to keep it casual. You don’t have to be a cake-decorating expert to make a heart cake that’s beautiful and tasty. It’s all about having fun with the process and sharing it with people who matter to you.

Bake with Love
Heart-shaped cakes are a fun, easy way to show someone you care—whether it’s for a special occasion or just because. With a little creativity, you can turn a simple cake into a beautiful work of art that’s sure to make anyone’s day. So, next time you’re looking for a sweet treat, why not make a heart cake? It’s the perfect combination of love, sweetness, and, of course, cake. And let’s face it, who doesn’t love cake?
Happy baking, my friend! And remember, the best part is that you get to eat it when you’re done. Enjoy!


5 thoughts on “Heart Cake Treat for Any Occasion”
Comments are closed.