If there were times that you wished to create a cake that symbolizes love, whether made for Valentine’s Day, anniversary, or any other sweet reason, this post will surely add to your inspiration! Quite frankly, there is no joy greater than making a heart shape cake for someone you hold dear to your heart. It’s as if you are giving them a portion of your soul, and let’s face it, who doesn’t like cake? Well boys and girls, let me take you through the process of making this super cute, scrumptious heart shaped cake that will leave all sexes weak at the knees. No worries though, I will tell you how to do it in a jiffy – because who has time to spend in the kitchen, right? By the end of this tutorial, you’ll have mastered a few fantastic new recipes; so put on your apron, turn on your oven, and away you go!
Gather Your Ingredients: Sweetness Starts Here

Before we get into the nitty-gritty of actually making the cake, let’s make sure we have everything we need. Here’s a list of the essentials:
For the Cake:
- 2 1/2 cups all-purpose flour
- 1 1/2 cups sugar
- 1 tablespoon baking powder
- 1/2 teaspoon baking soda
- 1/2 teaspoon salt
- 1 cup unsalted butter (softened)
- 4 large eggs
- 1 teaspoon vanilla extract
- 1 cup milk (whole milk is best)
- 1/2 cup sour cream (this makes the cake extra moist!)
For the Frosting:
- 1 cup unsalted butter (softened)
- 3-4 cups powdered sugar
- 2 teaspoons vanilla extract
- 2 tablespoons heavy cream or milk (add more if needed)
- A pinch of salt (trust me, it really brings out the sweetness!)
For Decoration Optional but Totally Recommended!:
- Sprinkles (because, well, sprinkles make everything better)
- Fresh berries (strawberries, raspberries, or whatever fruit you’re into)
- Edible glitter (yep, it’s a thing)
- Chocolate shavings or drizzle
Now that you have all the ingredients in front of you, let’s move on to the fun part: baking the cake!
Step 1: Preparing Your Heart-Shaped Pan
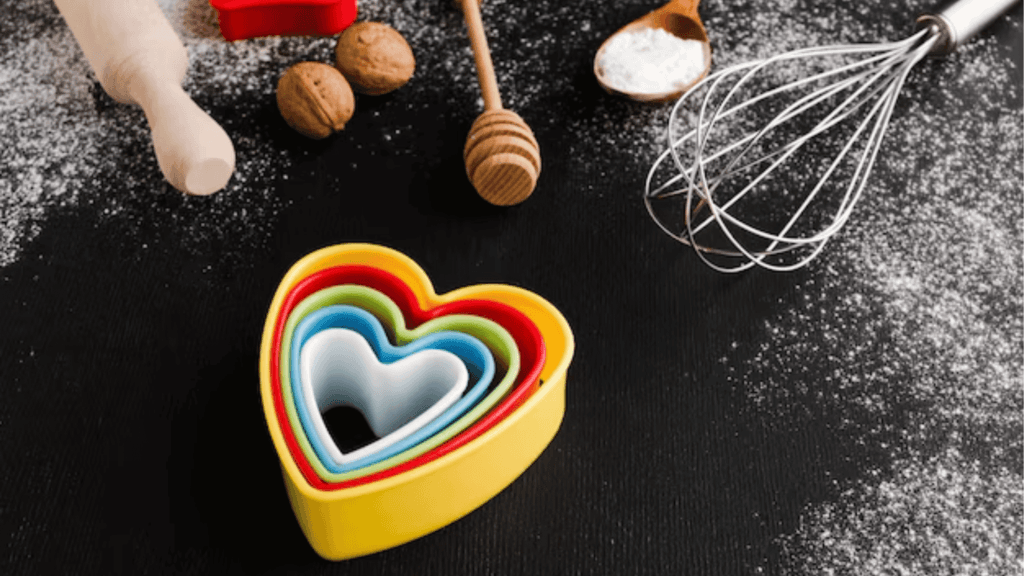
The first thing you need to do is get your self a heart shaped cake pan.No problem if you don’t have one to refer to.)You can also bake a round one and then cut it in the shape of a heart, but I love the pan – it’s so much easier.
Tip: In order not to see the bottom of the cake pan when you flip your cake over, grease it with butter and dry it with some flour.Instead, you can use a sheet of parchment paper and place it in the pan.Some of them I find equivalent to giving the cake a cozy place to lie in as it bakes.Doing this, why not go on and heat your oven to 350 degrees Fahrenheit or 175 degrees Celsius, depending on what you feel most comfortable with.Let it warm up for a few minutes until it becomes very hot, so that it should help the cake bake well.
Step 2: Mixing the Cake Batter
Let’s get that batter whipped up! Measure out the flour, sugar, baking powder, baking soda and salt, separately, into a large mixing bowl . This is the first step which would allow you to have a fluffy cake to complete with all the ingredients. Using a different bowl for the ingredients mix your butter and sugar until your butter has become creamy and smooth. I love this segment of the recipe video – it is amazing how the sugar and butter turn into a light, rich batter.. Add in your eggs, one at a time, mixing well after each addition. After that, add the vanilla extract.
Now, we’re going to alternate adding the dry ingredients and the milk to the wet mixture. First pour some of the flour mixture, then some of the milk, then continue doing this until everything has been incorporated; do not mix vigorously. We just want one total rather than one worked over. And for that extra moisture, fold in the sour cream which will give such a nice tang of flavor to the cake. The fact that having pre-existing (even if not very close) friendships with most team members make communication much easier is like the perfect flavor enhancer for your cake despite members of the team having no prior knowledge of baking.
Pro Tip: If the batter feels too thick, then loosen it up slightly by adding a teeny tiny bit more milk stirring until you attain your desired texture. They wanted it to be smooth, not very thick so that it would not have to be forced into the moulds but also not very watery.
Step 3: Baking the Cake
Now it’s time to pour the batter into your prepared heart-shaped cake pan. Smooth it out with a spatula so it’s even. Then, pop it into the preheated oven for about 30-35 minutes. But here’s the thing: every oven is a little different, so start checking around 25 minutes by inserting a toothpick into the center of the cake. If it comes out clean, it’s done!
Once it’s ready, take the cake out and let it cool in the pan for about 10 minutes. After that, transfer it to a wire rack to cool completely. This part is crucial—no one wants melted frosting on a warm cake.
Note: You can also make this cake ahead of time and store it in an airtight container. It’ll keep for a couple of days, so you can bake it the night before and be ahead of the game.
Step 4: Making the Buttercream Frosting
While your cake cools, let’s get that frosting ready. Using a large mixing bowl, whip the softened butter until it becomes smooth and creamy. Slowly incorporate the powdered sugar, adding one cup at a time. I usually start on low speed to prevent a sugar storm, then increase the speed once most of the sugar is incorporated.
Add in the vanilla extract and a pinch of salt (this really makes the frosting pop). To achieve the perfect creamy consistency, add in the heavy cream or milk, one tablespoon at a time, until the frosting is spreadable but not too runny.
Fun Tip: If you want a pop of color, add a few drops of food coloring! It’s super easy, and it’s a great way to make your cake even more festive.
Step 5: Frosting Your Heart-Shaped Cake
Alright, we are now at the most entertaining part of the narrative here. Pick up a spatula and go ahead and cover that heart shaped cake all over in that sweet, creamy butter cream frosting. Move in concentric circles from the middle out and be sure to gather every bit of that heart shape – even in the corners.
Quick Tip: It is for this reason; if you desire neatly finished cake, make sure you use offset spatula in spreading the frosting. It is more important for people who want perfect corners on their haircuts. But come on—let us be honest- the more complex it is the more it looks or feels homemade does it not? There is one thing that you don’t need to worry about, the cake is made with love!
Step 6: Decorating the Cake
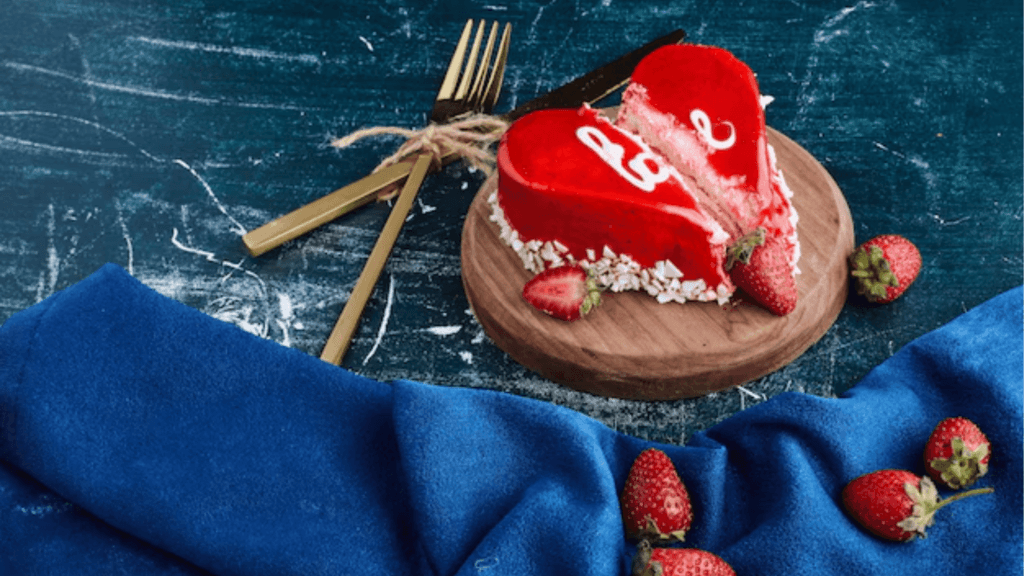
Okay, you’ve got your frosted heart-shaped cake, but now comes the fun part: decorating it! This is a good place to be innovative. You can just dust it with powdered sugar or add fresh berries, sprinkles or edible glitter on top. If you want, you can add some more zest by pouring over the chocolate ganache on top of the cakes. It’s super easy to make: well you don’t do anything complicated, you simply melt some chocolate and then add a little cream and stir it to blend. Pour it over your frosted cake and all of a sudden, you are finished with a beautiful fancy cake topping.
Side Note: This is also the perfect opportunity to make a cake of your own. If someone wants to write something simple like ‘Love You’ or ‘Be Mine’ with little frosting piping bag or just wants to create roses out a frosting bag it’s all possible.
Step 7: Serving and Enjoying the Cake
Alright, it’s finally time! After all your hard work, your heart-shaped cake is ready to shine. Cut a slice, serve it to your loved ones, and wait for the applause. The combination of moist cake, smooth buttercream, and that sweet, buttery flavor is bound to leave everyone asking for seconds.
Here’s the best part—this cake is versatile. You can serve it plain or pair it with some whipped cream or ice cream on the side. You could even make a cake sandwich and put jam or lemon curd in the middle for an extra burst of flavor.
Tip: If you’re planning to serve it at a special event, consider slicing it into heart-shaped pieces for that added touch of love!

Heart-Shaped Cake for the Win!
Well, there you have it! A very easy, fail-proof method to creating the most beautiful heart-shaped cake to wow the hearts of all your guests. It’s the sort of finale that isa little more special than usual for those occasions when you want to spoil people a little more. If there is reason to make a cake or just to surprise your loved one on Valentine’s Day or your anniversary or anything else that takes your fancy, this cake would clearly be the talk of the show. And the best part? This is a perfect platform because it is easy to implement, enjoyable, and can be set up in any preferred way. However you want it, as small or as elaborate as you wish and the beauty of it is, even a layman can do it. Enjoy making this cake and enjoying it too! So, go ahead, share a slice (or two) with the people you love, and spread that sweet, heart-shaped joy.


1 thought on “how to make a heart shaped cake”