Okay, folks—let’s talk about mermaid cake. Whether you’re planning a birthday party, a special celebration, or just feeling a little adventurous in the kitchen, a mermaid cake is definitely a showstopper. I mean, who wouldn’t want to enjoy a slice of something as magical and beautiful as the ocean, right? The colors, the textures, the shimmer—it’s like diving into the sea without getting wet!
If you’ve ever thought about trying your hand at a mermaid cake but weren’t sure where to start, this guide is for you. Trust me, it’s not as hard as you might think. With a little creativity, a few key ingredients, and some fun techniques, you’ll be able to whip up a mermaid cake that’ll have everyone at the party talking. So, let’s get into it!
What Makes a Mermaid Cake So Special?
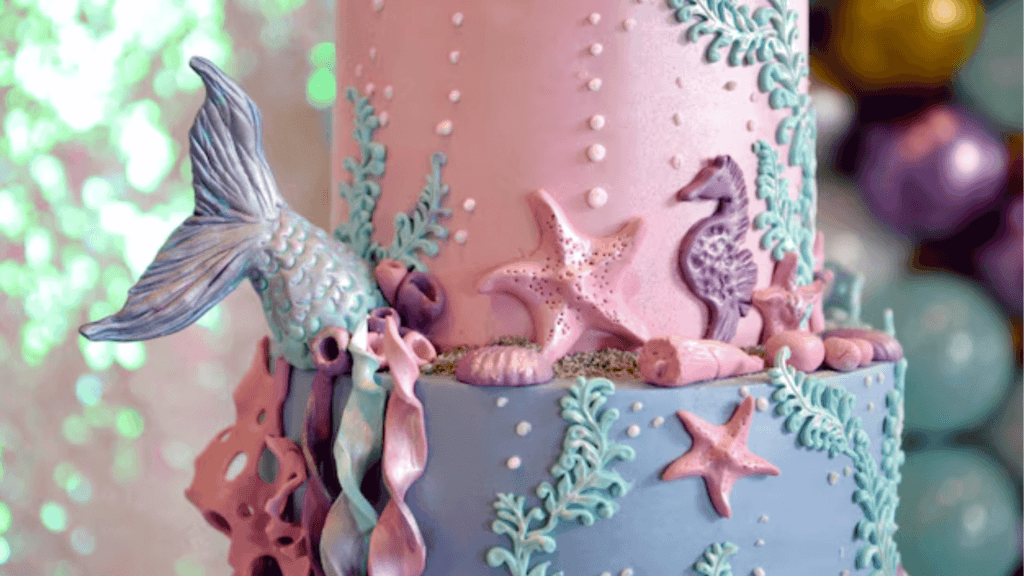
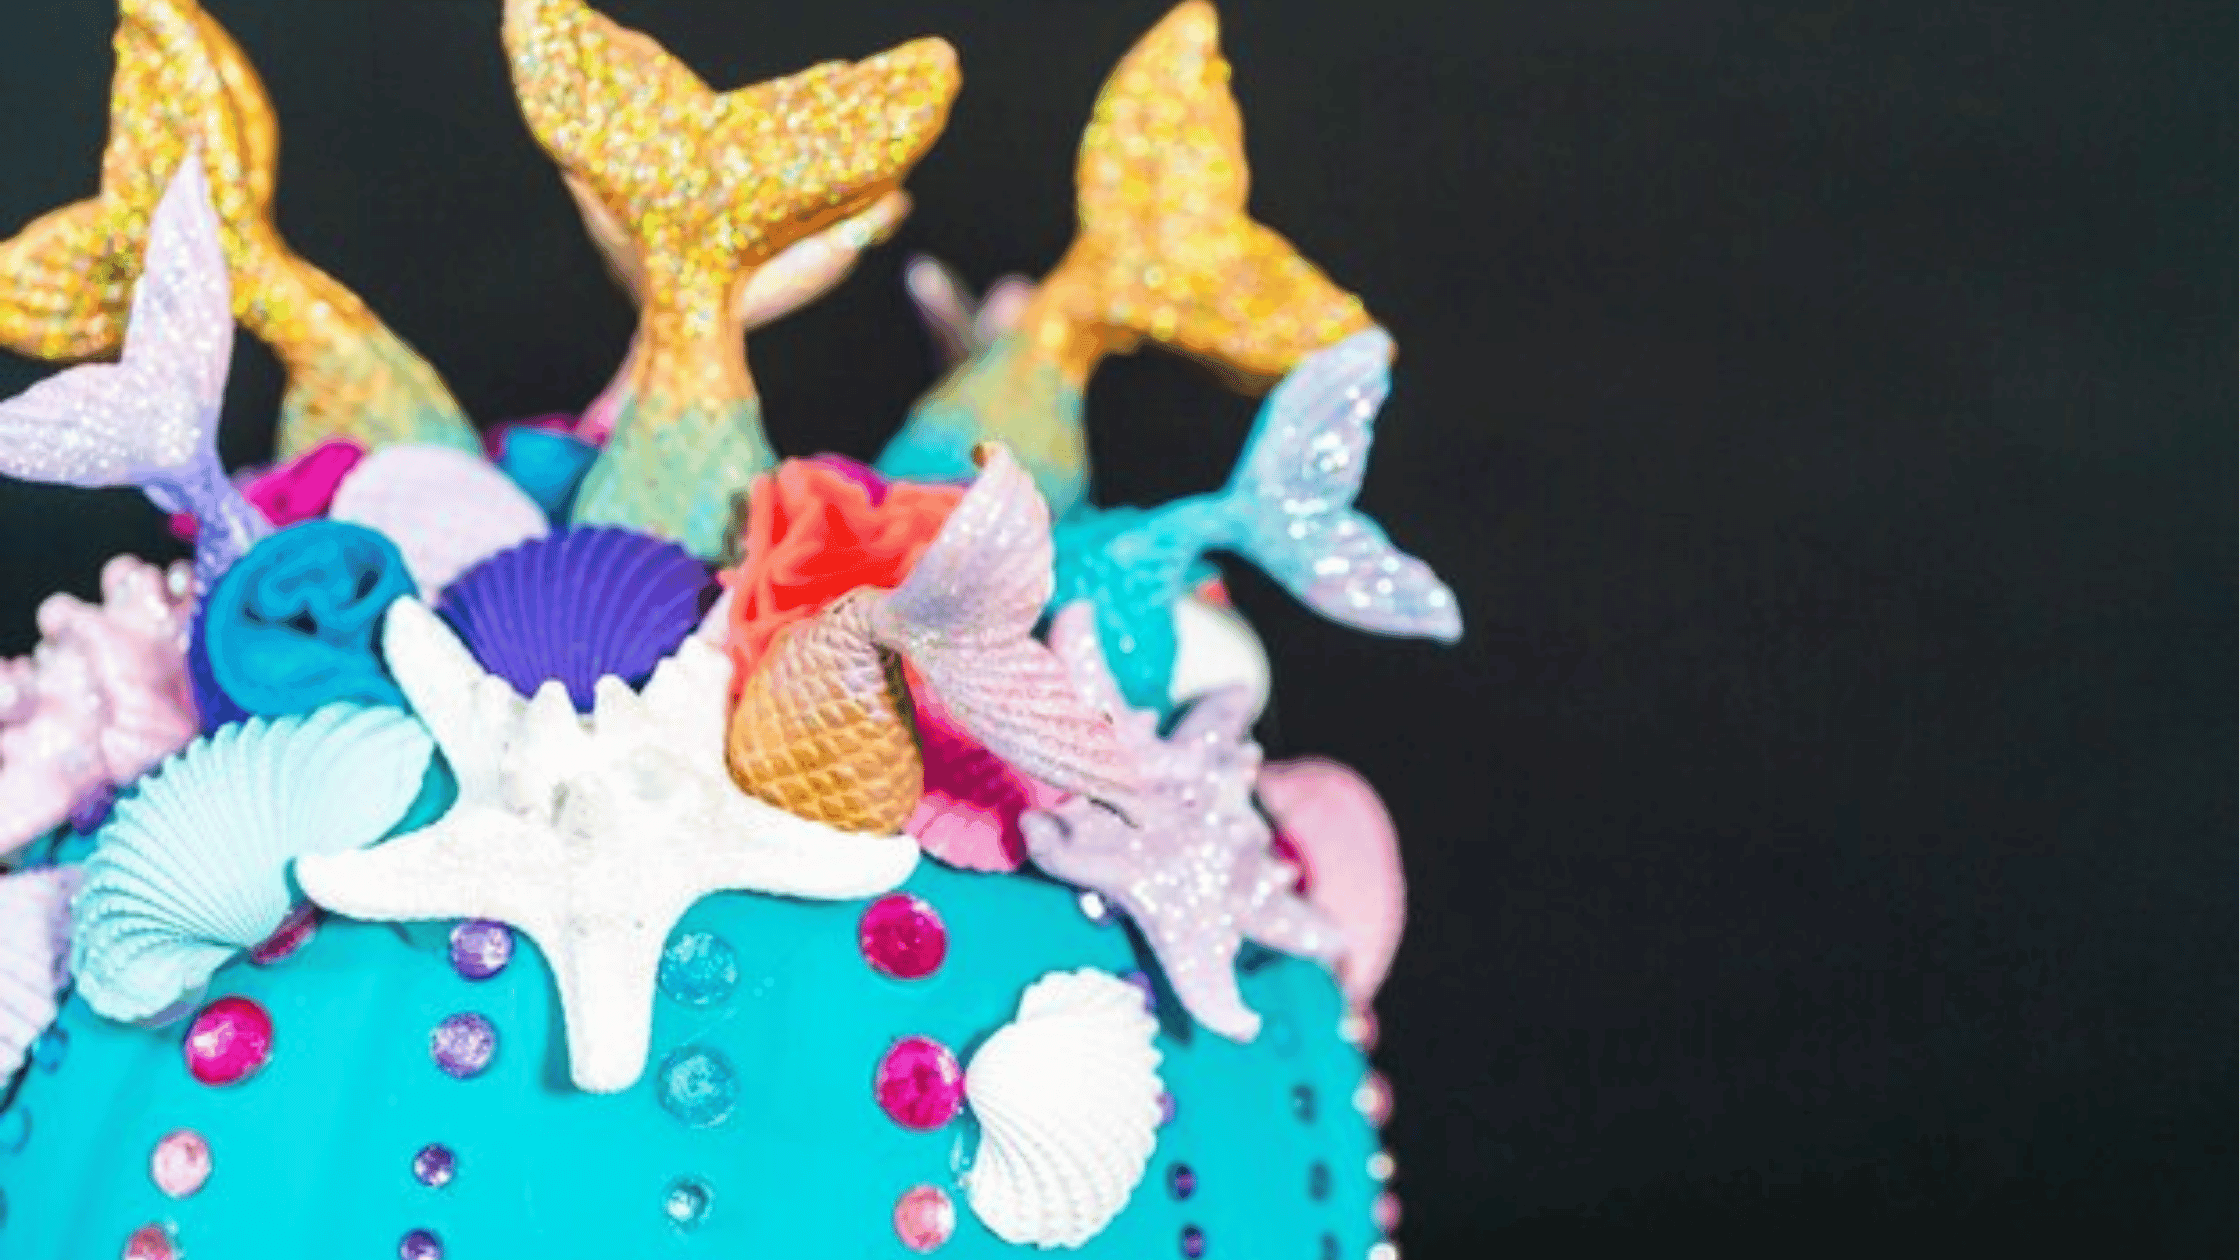
Mermaid cakes have that perfect mix of whimsy and elegance. They’re typically designed with bright, ocean-inspired colors, edible glitter (because why not?), and a whimsical under-the-sea vibe that just screams “magical.” Honestly, there’s something about the pastel blues, pinks, purples, and teals that just feel like summer at the beach.
But here’s the best part: the mermaid cake isn’t limited to just one look. You can go full-blown glittery tail and coral or take it in a more subtle direction with soft, pastel layers. You do you, and this cake will fit right in. Whether you’re using buttercream, fondant, or a combination of both, the sky’s the limit when it comes to decorating.
Why Make a Mermaid Cake?
Maybe you’re tired of the same ol’ chocolate cake or vanilla cake that seems to pop up everywhere. A mermaid cake is an instant hit because it brings something different to the table. It’s not just a cake—it’s an experience. The best part is you can tweak it to match your party theme. Whether you’re celebrating a birthday, summer party, or even a baby shower, this cake works for it all.
Plus, there’s a certain satisfaction in creating something that’s visually stunning and delicious. Imagine the reactions when you cut into your mermaid masterpiece and show off all those gorgeous layers. Totally worth the effort, right?
Step-by-Step Guide to Making Your Mermaid Cake
Step 1: Gather Your Ingredients
Before we get into the fun stuff—decorating and making it look like a scene from The Little Mermaid—we need to get our ingredients ready. Don’t worry; this isn’t a huge list of weird items you’ve never heard of. Most of this stuff is easy to find at your local grocery store or online, so let’s dive right in.
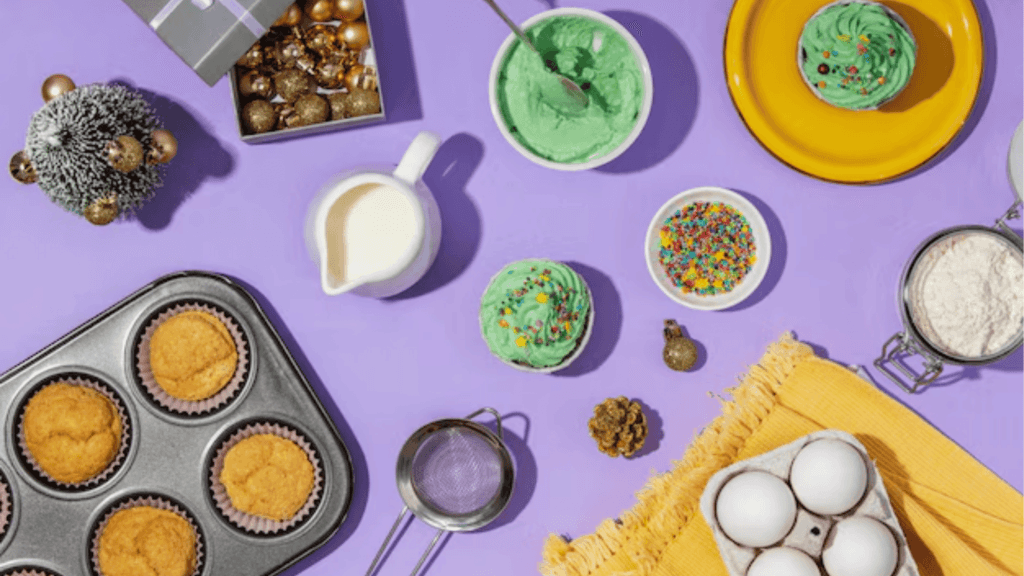
For the Cake:
- 2 ½ cups all-purpose flour
- 1 ½ cups sugar
- 2 tsp baking powder
- ½ tsp salt
- 1 cup unsalted butter, softened
- 4 large eggs
- 1 cup milk
- 2 tsp vanilla extract
- Food coloring (get your hands on a few different colors like teal, lavender, pink, etc.)
The Buttercream Frosting:
- 2 cups unsalted butter, softened
- 5-6 cups powdered sugar
- 2 tsp vanilla extract
- 1-2 tbsp milk (for consistency)
- Food coloring (to match your mermaid theme)
- Edible glitter (optional but totally recommended for that ocean sparkle)
For the Decorations:
- Candy shells, edible pearls, or sea glass candy
- Mermaid tail decorations (you can find these at cake supply stores or online)
- Fondant (if you’re planning to make fondant decorations like shells or sea creatures)
It sounds like a lot, but once you’ve got everything, you’re golden!
Step 2: Bake the Cake
First things first: get your oven preheated to 350°F (175°C). Line your cake pans with parchment paper and grease them up real nice so the cakes don’t stick later. Depending on what you have at home, I’d recommend using 3 to 4 8-inch round cake pans for this recipe. You can even use two 9-inch pans if that’s all you’ve got—it’ll still work!
Now, let’s mix up the cake. In a large bowl, sift your dry ingredients together—flour, baking powder, salt, and sugar. In another bowl, beat your softened butter until it’s creamy and smooth. Add in the eggs one at a time, making sure to mix well between each addition. Once that’s all blended, add in your milk and vanilla extract. The batter should have a smooth and creamy consistency.
Now comes the fun part: adding color! Divide the batter evenly into bowls and add a few drops of food coloring to each one. Mix until you’ve got the perfect mermaid colors—teal, purple, pink, whatever feels like the ocean to you. You don’t have to be super neat here, but if you want to create a marbled effect (trust me, it’s worth it!), spoon the colors randomly into the cake pans and then swirl with a knife.
Pop those pans in the oven and bake for 25-30 minutes, or until a toothpick comes out clean. Let them cool completely before frosting.
Step 3: Make the Buttercream Frosting
While your cakes are cooling, it’s time to whip up that dreamy buttercream frosting. Start by beating the softened butter until it’s light and fluffy. Slowly incorporate the powdered sugar, adding one cup at a time. If the frosting starts getting too thick, add a little bit of milk until it reaches your desired consistency. You want it thick enough to hold its shape but not so stiff that it’s hard to work with.
Once your buttercream is ready, divide it into different bowls, and start coloring. I like to stick to a few colors that match the ocean vibe—think shades of purple, blue, and teal. If you’re feeling extra fancy, you can even add a bit of edible glitter to the frosting for that extra shimmer effect.
Step 4: Assemble Your Cake
Now it’s time to stack and frost. Place your first cake layer on a cake board or plate, and spread a layer of buttercream on top. Add the next layer and repeat. If you’re going for a more “mermaid tail” vibe, you can slightly offset the layers to create a cool cascading effect.
Once all the layers are stacked, crumb coat the entire cake with a thin layer of buttercream. This will seal in any loose crumbs and make it easier to apply the final layer of frosting. Chill the cake in the fridge for about 15-20 minutes to set the crumb coat, then go ahead and frost the rest of the cake with your final layers of beautifully colored buttercream.
Step 5: Add the Decorations
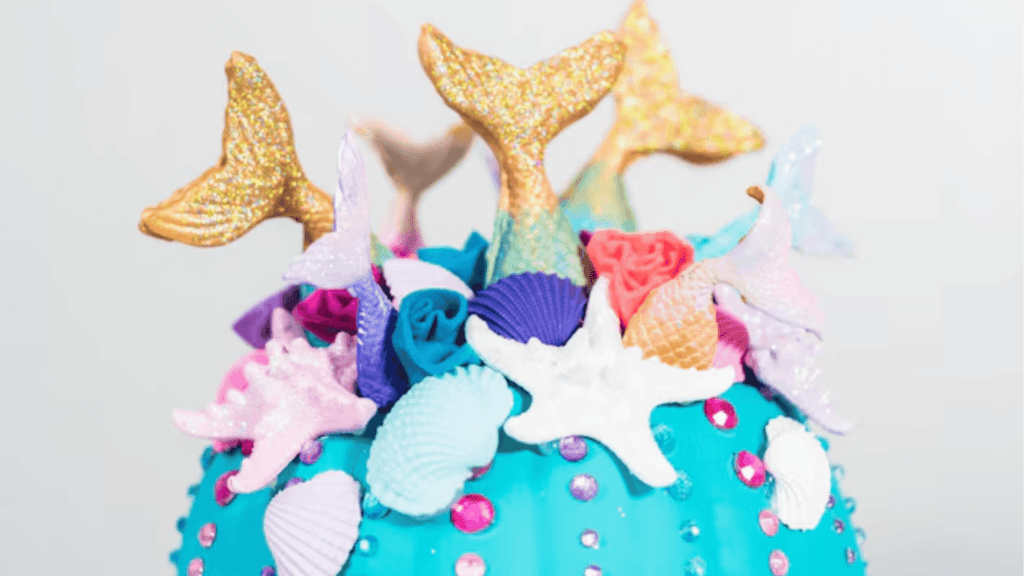
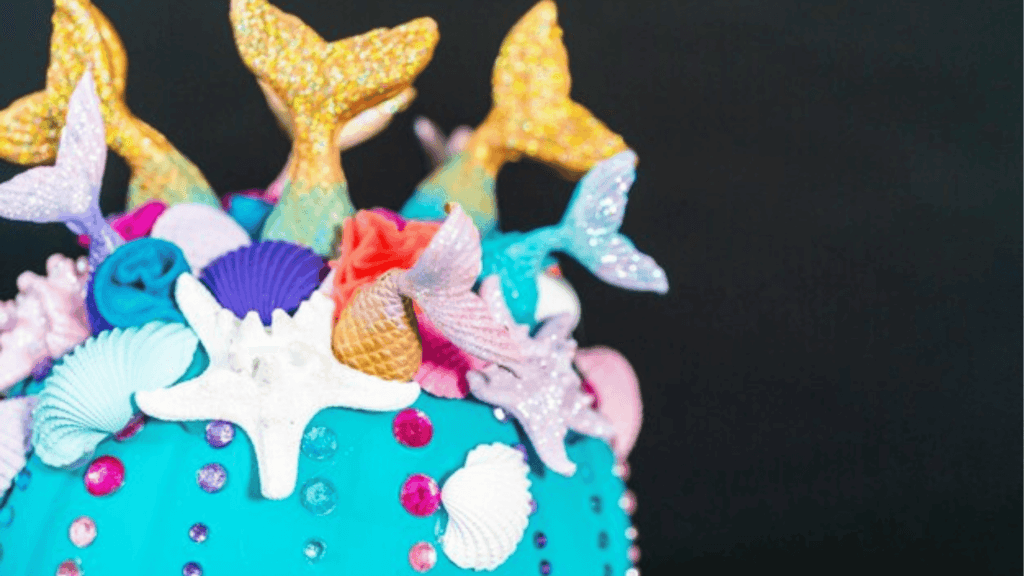
Okay, here’s where the real magic happens. Now it’s time to add all those fun, mermaid-inspired decorations. Use edible pearls, candy shells, and other ocean-themed decorations to add texture and color. You can even mold some mermaid tails out of fondant or buy pre-made ones.
If you’re feeling super artistic, you can also create a little mermaid scene with fondant sea creatures or even a fondant seaweed border at the base of the cake. The goal is to make this cake as vibrant and enchanting as possible—so let your imagination run wild!
Step 6: The Final Touch—Shimmer and Shine!
Did you really think we were finished already? The finishing touch for a mermaid cake is, of course, shimmer. Lightly dust the top and sides with edible glitter to give your cake that magical ocean sparkle. You can find glitter in various colors, but gold and silver are usually the way to go if you want that true mermaid glow.
Let the cake chill again for a bit, then it’s time to cut into it and let everyone marvel at your creation. Trust me, it’ll be worth the wait.
Tips for Making the Perfect Mermaid Cake
- Make it ahead of time: This cake can take a bit of time to put together, so make it a day ahead. The flavors will really settle in, and you won’t be scrambling at the last minute.
- Mix your frosting colors before you start: To save time, decide on your frosting colors beforehand and have them ready to go so you can work efficiently.
- Add texture: Don’t be afraid to mix different textures. You can combine smooth buttercream with candy decorations or even add a little fondant for a more sculptural effect.
- Get creative with the layers: You don’t need to stick to one color per layer. Play with the design! You can have a layered ombré effect or even swirl the colors together for a fun twist.
- Use good quality food coloring: For the most vibrant colors, make sure to use gel food coloring. The liquid ones just won’t cut it for this kind of cake.
FAQ About Mermaid Cakes
1. What is a mermaid cake?
A mermaid cake is a themed cake designed with ocean-inspired colors, decorations, and textures. It often features pastel shades like teal, purple, and pink, with elements like edible pearls, candy seashells, and even fondant mermaid tails to create a magical, under-the-sea look.
2. How do you make a mermaid cake from scratch?
To make a mermaid cake from scratch, you’ll need ingredients for both the cake and buttercream frosting. The cake typically uses flour, sugar, eggs, butter, and food coloring for vibrant layers. For the frosting, you’ll need butter, powdered sugar, vanilla extract, and food coloring. Layer the cake, frost it with the colored buttercream, and decorate with ocean-themed elements.
3. Can I make a mermaid cake in advance?
Yes! The cake can be prepared a day or two in advance. Just store it in the fridge after decorating, and it will stay fresh. It’s actually a good idea to make the cake ahead, as it allows the flavors to develop and saves you time on the big day.
4. What decorations can I use for a mermaid cake?
Common decorations for a mermaid cake include edible pearls, candy seashells, edible glitter, and fondant mermaid tails. You can also use fondant to make sea creatures, seaweed, or other ocean-themed decorations. The more colorful and sparkly, the better!
5. How do I make mermaid cake layers colorful?
To make the layers colorful, divide the batter into different bowls and add a few drops of food coloring to each. You can swirl the colors together or layer them for an ombré effect. Just be sure to evenly distribute the colored batter into your cake pans for a balanced look.
6. What flavor is a mermaid cake?
The flavor of a mermaid cake is completely up to you! Most mermaid cakes are made with vanilla, but you can use any cake flavor you prefer. Chocolate, lemon, or even coconut would work beautifully with the ocean-inspired theme.
7. Can I use fondant for a mermaid cake?
Yes, fondant is a great option for creating smooth, polished decorations like mermaid tails, shells, and sea creatures. You can either cover the entire cake in fondant or use it just for decorations. It adds a professional touch to the overall look of the cake.
8. How can I make my mermaid cake shimmer?
To give your mermaid cake a magical sparkle, use edible glitter or shimmer dust. You can lightly dust it over the top and sides of the cake, giving it that beautiful, ocean-like glow. Make sure to use a food-safe glitter that’s specifically made for cakes.
9. How long does a mermaid cake last?
If stored properly, a mermaid cake can last up to 3-4 days in the fridge. Store it in an airtight container to preserve its freshness. Just remember, cakes with buttercream frosting are best enjoyed within a few days.
10. Can I make a mermaid cake without fondant?
Absolutely! You can create a beautiful mermaid cake without using fondant. Focus on decorating with buttercream frosting in oceanic colors, and add fun edible decorations like candy shells, pearls, and sprinkles for texture.
Your Mermaid Cake Masterpiece
There you have it—a gorgeous, ocean-inspired mermaid cake that’s perfect for any celebration. From the shimmering decorations to the oceanic colors and textures, this cake is all about fun, creativity, and, of course, deliciousness. Whether you’re making it for a birthday party or just to treat yourself, it’s sure to be a hit. So go ahead, dive in (figuratively, of course), and let your inner mermaid shine through in the kitchen!

5 thoughts on “Mermaid Cake Recipe Create a Magical Ocean Cake”